
Improve Your Imaging Results with VISIA®
Client preparation is key to getting the highest quality imaging results from your VISIA. Here are five easy steps you can take to properly prepare your client for their image captures and get the most out of your VISIA.
1: Always Cleanse the Client’s Skin
This first step is critical for the success of your analysis. Make sure the client’s skin is clean, with no makeup on the skin. This includes making sure the client is not wearing moisturizer with SPF or sunless tanner, which may make the image appear darker. If the skin is not properly cleansed, the analysis may not accurately reflect your client’s skin conditions.
If the client needs to clean their skin, use an oil-free, moisturizer-free, and alcohol-free cleanser that won’t leave a greasy residue or irritate the skin. After the makeup has been removed, wait at least ten minutes before proceeding with the image capture to allow any redness caused by cleansing to subside.
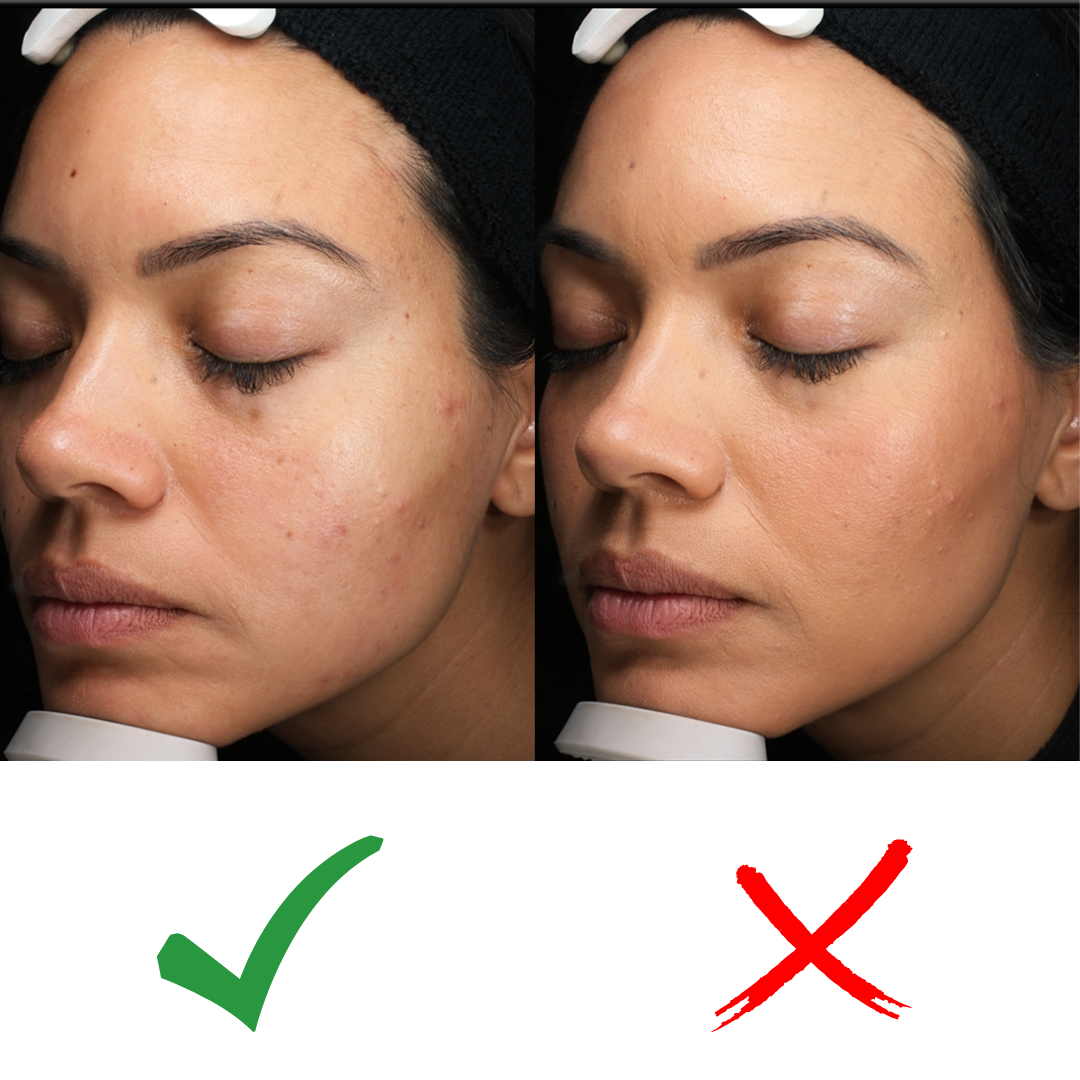
2: Pull All Hair Back from The Client’s Face
To do this, use a black headband and place a black collar drape cloth around the shoulders. It is very important to use a black headband on every client you capture. The headband should not be shiny or contain any light-colored embellishments to avoid reflections that will affect the capture results. This ensures there will be no flashback effect on the images.
.png)
3: Ensure the Client Has Removed All Jewelry
Removing jewelry helps eliminate distractions when communicating the results with the client, as well as reducing unexpected reflections and other unwanted lighting effects that can skew the image results.
.png)
4: Use VISIA MatchPose® Live Image Overlay
Ensure the client’s back is straight during the baseline and follow-up capture. The chin and neck should maintain a position consistent with the baseline capture. If the body is in a different position, it can affect the neck and chin position, leading to more variability in the capture.
MatchPose® helps line up before and after images nearly perfectly for standardized imaging and easy documentation over time. The standard image from the baseline image capture is displayed in green, while the live preview is displayed in magenta. These areas help you see the correct alignment
.png)
5: Avoid direct sunlight or exam light on the client
Ensure that lighting is consistent and that nothing reflective is behind the client. Inconsistent lighting can lead to large variations in exposure of the images and negatively influence the algorithms that process the images. Make sure no one stands behind the camera to avoid lighting issues with shadows and reflections.
.png)
Once the client is properly prepped, you can begin capturing images. Instruct the client to close their eyes, relax their face (neutral expression), and remain still for the flashes that capture the left, front, and right views of the face. The multi-point positioning system of the VISIA makes it easy to capture properly registered images and document progress over time.
Have additional questions? Sign up for our upcoming VISIA Webinars or reach out to our support team!
Recent News in Product Education
Most Recent News
- National Doctors’ Day, Spotlighting Glynis Ablon, MD, FAAD
- Dr. Robyn Siperstein, M.D., discusses Canfield’s revolutionary AI & AR technology and its role in consultations in MedEsthetics Magazine
- VISIA®’s 5th Consecutive Win as Favorite Diagnostic Tool in Dermascope’s Aestheticians’ Choice Awards!
- Visit us at AAD's Annual Meeting!